Linking Multiple Mailchimp Accounts in Data Studio

One of the most powerful features of Mailchimp, and a big reason why it is still one of the post popular email marketing tools out there, is that it enables you to link accounts together. This is a great feature for a growing business that might have multiple accounts for different product or marketing teams, as well as agencies that manage accounts on behalf of their clients.
With one single username and password login, you can get access to all of the accounts that have been linked to your Mailchimp account, while keeping billing and account management separate.
But even though you can login to multiple Mailchimp accounts, it doesn’t mean that it is easy to manage them.
And one of the most challenging issues that you will run into is how do you manage reporting across all of these accounts. Mailchimp, by default, provides reports for individual email marketing campaigns for each separate account and audience, so it is very difficult to consolidate reporting.
To solve this issue, we recommend connecting Mailchimp to Data Studio, where it is easy to get aggregate views of your reporting. However, most connectors for Data Studio, including our Basic connector, only allow you to access one Mailchimp account at a time.
But luckily, there is a way to link all of your Mailchimp accounts to Data Studio and in this article we'll show you how. Once you’ve done this, you can easily create dashboards for your clients or blend data from all of your accounts in your business together.
Let’s see how you can do it step-by-step.
Managing Multiple Accounts in Mailchimp
First, let’s do a quick recap of how you can link and manage multiple accounts in Mailchimp. (you may already have this setup, in which case, you can skip to the next section)
Essentially, it is a two-step process that you can find step-by-step instructions for in this Mailchimp guide.
The first step is to send an invite from the new account that you want to link to the account you want to access it from. (if you are an agency, you will ask your client to do this part for you)
You can do this by going to your Account > Settings > Users and selecting “Invite a User”. For the purposes of this guide, we only need to give “View” access so we can access reports from the account we are linking.
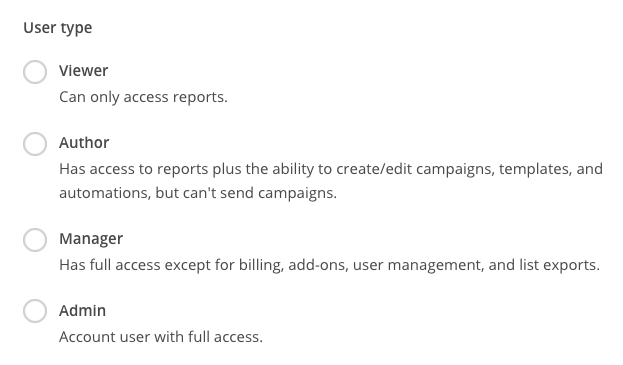
You can also give different access permissions if you want the new linked account to be able to do more things, like sending email campaigns or managing billing. Once you’ve selected the access level you want, you can click “Send Invite”.
Once you’ve sent the invite from the new account you want to link, you will get an email sent to the address that you access Mailchimp with. You can simply follow the instructions from this email:
- Click on “Join This Account”
- Then you will be prompted to login to Mailchimp
- And with that, you’ve linked the new account
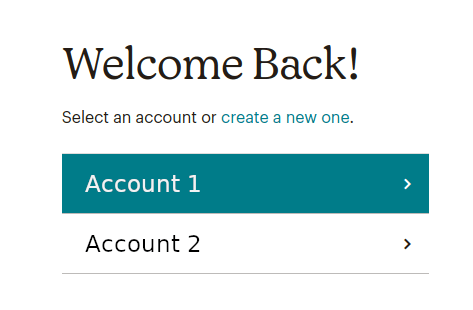
Now, whenever you log in to Mailchimp, you will be given the choice of which account you want to view:
Linking Multiple Mailchimp Accounts in Data Studio
Now that we’ve recapped how you can link multiple accounts in Mailchimp, let’s see how you can access those new accounts in Data Studio. First, we are going to assume that you are using the Pro version of our Mailchimp Data Studio Connector. (It is the only connector that we are aware of that offers this capability.)
Once you have signed up for your free trial, you can manage your subscription by logging into the Epilocal website and navigating to your account management page.
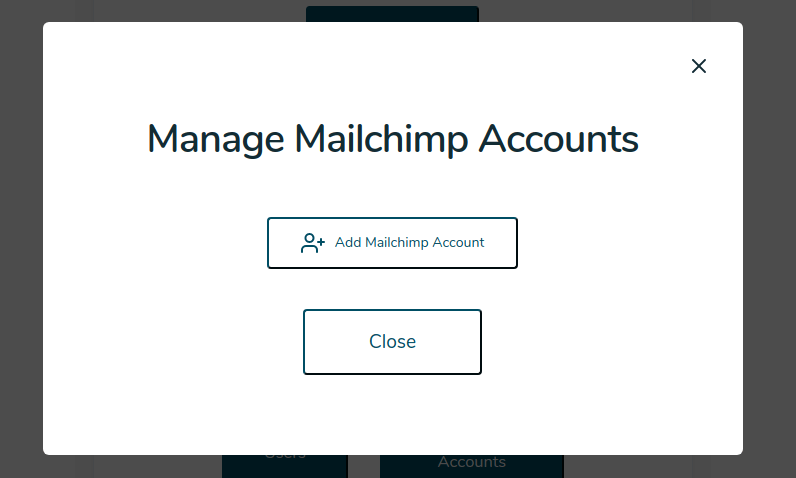
When you scroll down to your subscription, you will see the option to “Manage Mailchimp Accounts”.
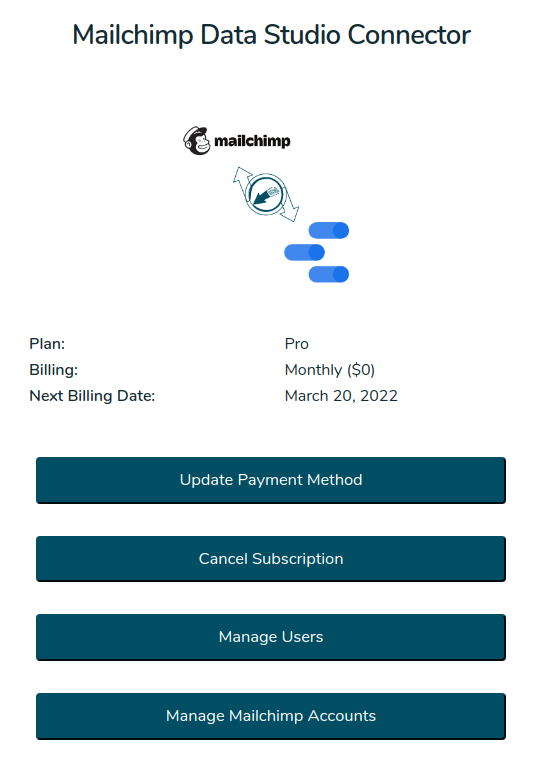
When you first click on this, you will see a blank list (since you don’t have any accounts linked yet) and the button that has the option to “Add Mailchimp Account”:
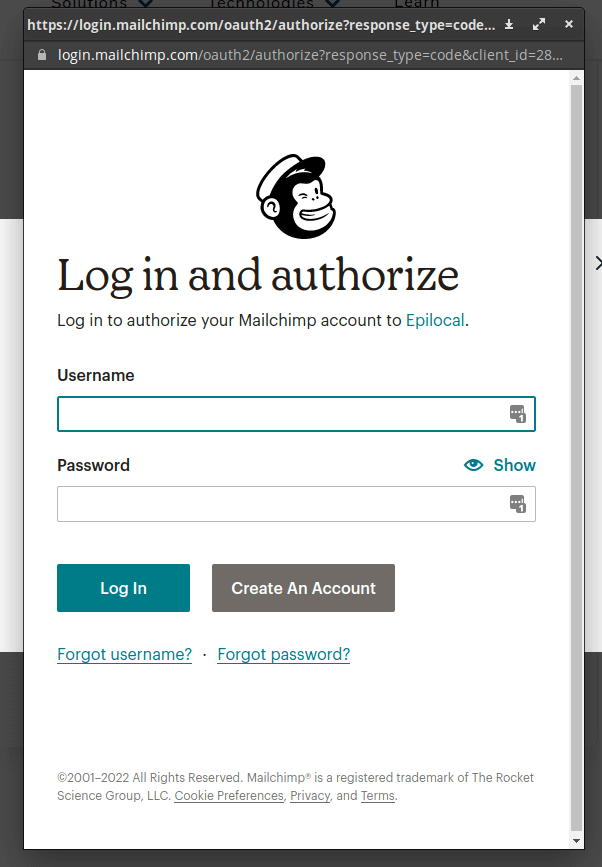
When you do this, you will be prompted to log in to your Mailchimp account:
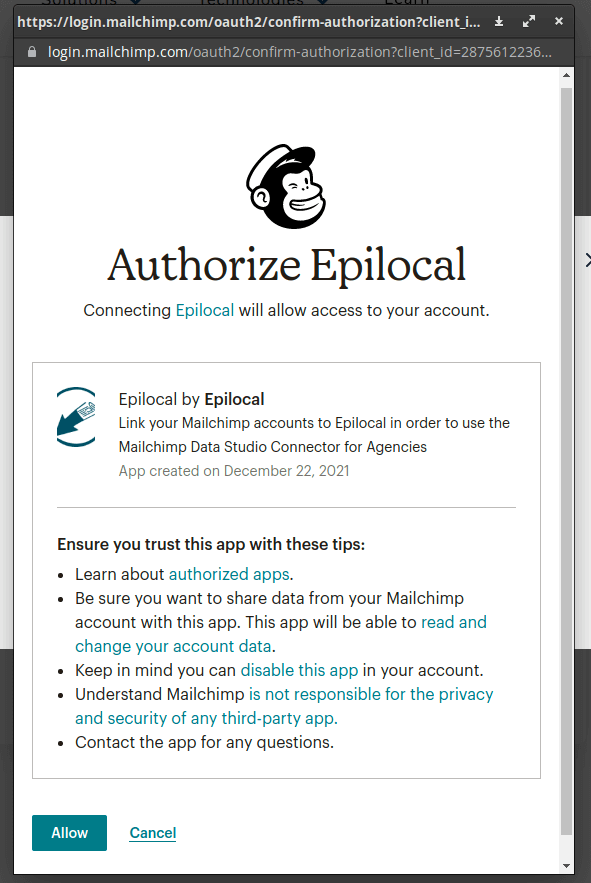
And then to authorize the connector to access your account:
Once you have completed those steps, you will see the same option to select which linked account you want to use, same as when you log in to your account through Mailchimp:
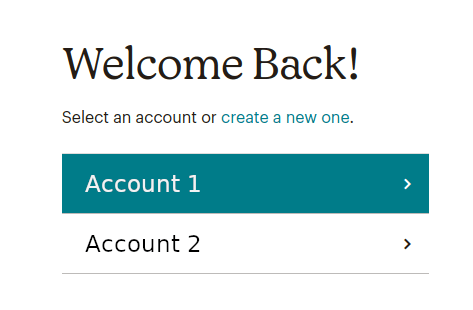
Once you select your account, you will see that it has been added to your list of linked accounts. Using the Pro plan, you are able to link one more Mailchimp account. If you would like to add additional accounts, we offer customized plans based on the number of accounts - please contact us for a quote.
Managing Multiple Mailchimp Accounts in Data Studio
Now that your Mailchimp accounts have been linked, you can use them in Data Studio. First, create a new Data Source and select the Mailchimp connector by Epilocal:
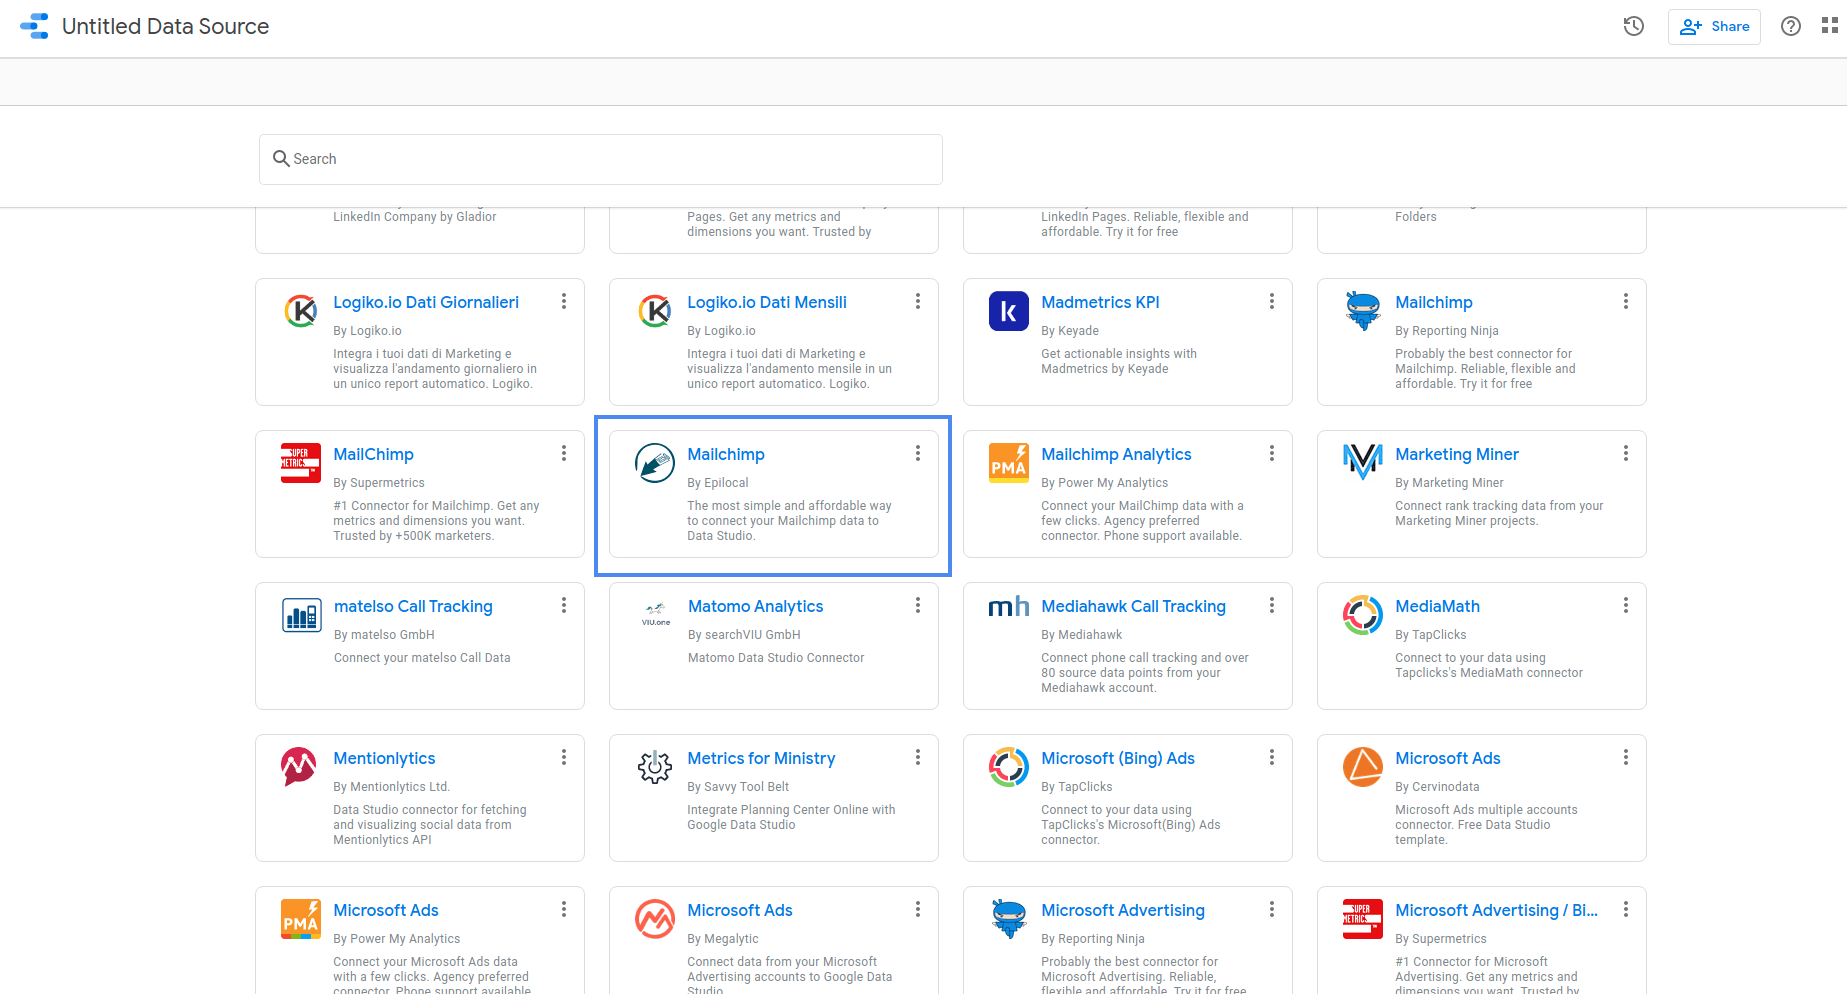
As long as you have an active subscription, you will be taken straight to the Data Studio configuration page. (if your subscription expires, you will see an error message here and not be able to proceed any further)
At the configuration page, you will see two dropdowns:
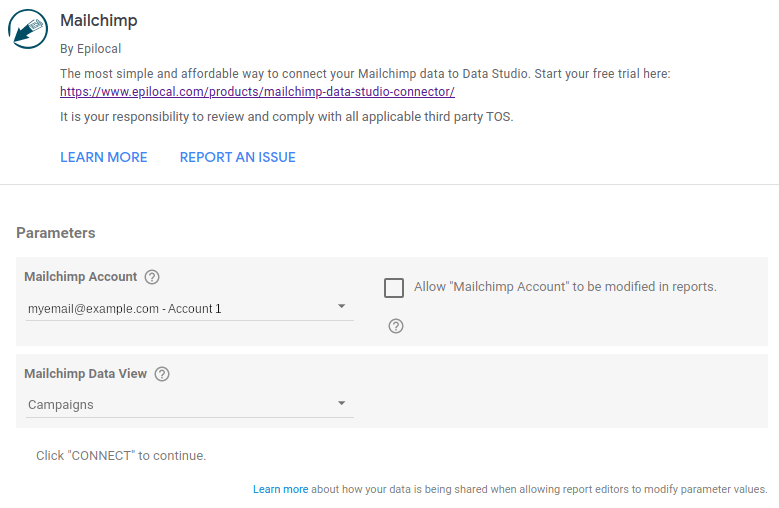
The first dropdown, called “Mailchimp Account” is the one we are looking for. Here all of your accounts that you have linked will be listed so you can pick which one you want to use.
You can also check the box to make this field available in Data Studio, if you would like to switch between different data sources in your report. (if you are an agency making dashboards for different client accounts, you will want to leave this unchecked)
Finally, just select the data view that you would like to access and you are good to go. (Campaigns is the default data view - we have a detailed guide of what you can do with email campaign data here)
Further Possibilities
Now that your multiple Mailchimp accounts are linked to Data Studio, you can:
- Create reports for all of your different Mailchimp accounts while using the same Data Studio account
- Collaborate with team members to work on Mailchimp reports together
- Blend data from multiple Mailchimp accounts
We plan to create detailed guides for each of these options in the future, but in the meantime, if you have questions on how you can do any of these things, feel free to contact us.
We hope that this served as a good introduction to how you can take Mailchimp from a simple email marketing tool to a powerful analytics tool that can grow with your business. Be sure to sign up for our newsletter to get more new guides like this one when they come out.

