How to Send a Welcome Email with Ghost and Mailgun
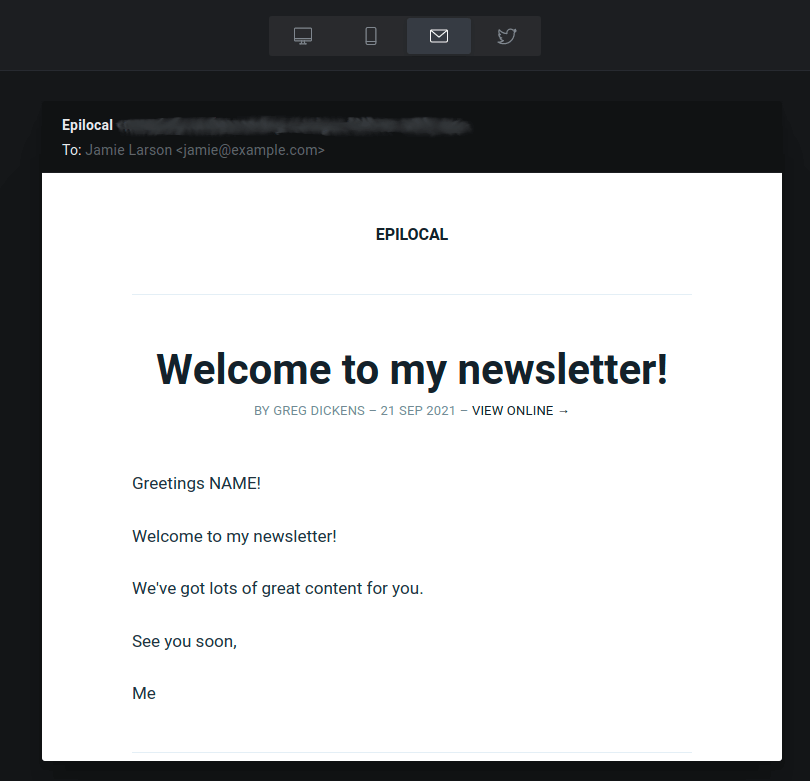
We’ve written before about how the Ghost CMS platform has a lot to offer out of the box when it comes to email newsletters, but it also has its drawbacks. The good news is that with a little bit of extra effort you can work around these issues.
Today, we will be doing just that for Welcome Emails. A welcome email is a vital part of any email newsletter strategy, but unfortunately Ghost does not let you send a Welcome email as part of its default setup.
But no fear, we will show you in this article exactly how you can set up Welcome Emails on your existing Ghost instance using Mailgun.
Specifically, we will be doing the following:
- Setting up Mailgun
- Configuring Zapier to send your email through Mailgun whenever you have a New Member sign-up in Ghost
- Composing your Welcome Email in Ghost
- Extracting your Ghost email template to Mailgun (so the styling of your Welcome Email matches your newsletter)
Let’s jump right in.
Setting up Mailgun
Chances are you may have already setup Mailgun as part of your initial Ghost setup. If that’s the case, then you can skip to the next section.
For those not familiar, Mailgun is a bulk email delivery service. What this means is that you can use Mailgun to send out emails to hundreds or thousands of people on your mailing list without getting flagged for spam like you would if you simply entered all of these email addresses manually into Gmail.
Mailgun is required to send email newsletters for self-installed instances of Ghost. If you are using Ghost Pro, you would not have needed to set up Mailgun along with Ghost, but you will need to set it up now in order to send your Welcome Email.
You can read more about how Ghost uses Mailgun here.
As you are following Mailgun’s account setup process, you should choose a domain that is a subdomain of where you host your Ghost site. (e.g. if your Ghost site is hosted at mysite.com you will want to choose something like mail.mysite.com) This will help keep your emails out of peoples’ spam folders.
Once you are finished with your Mailgun setup, you will want to note three things:
- Region (US, EU, etc)
- Domain (mail.mysite.com or whichever domain you choose)
- Private API Key (you can find this at Settings > API Keys)
Keep these ready for the next step when we configure Zapier.
Configuring Zapier to Send Welcome Emails
If you’re not familiar with Zapier, it is a service that makes it easier to integrate different cloud applications without needing the time or technical experience to do it yourself. We are not always a fan of Zapier, since its pricing can get expensive quickly, but in some use cases it works well.
In this case, it is a great way to get you started sending Welcome Emails for free. Speaking of which, begin by signing up for a free Zapier account if you don’t already have one.
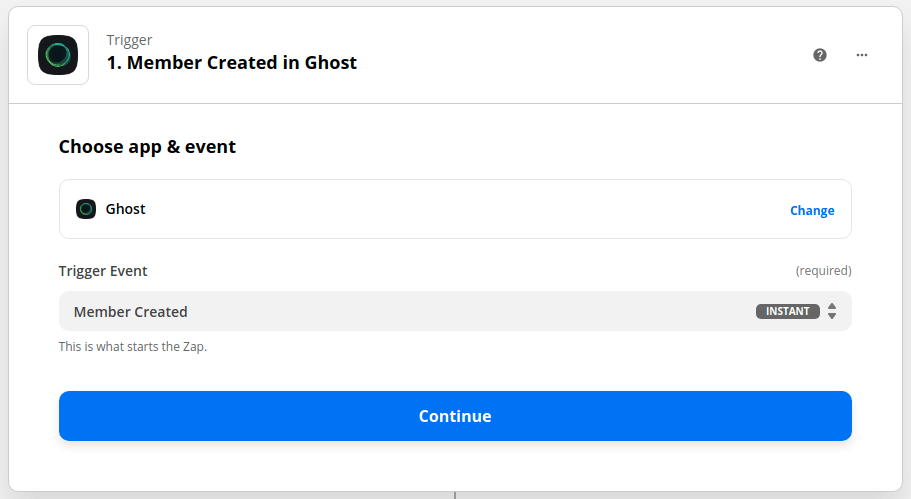
Once you are logged into your account, we will create a new zap with a Ghost trigger for any new Member Created.
Next, Zapier will prompt us to configure our connection to Ghost. To do this, we will need our Admin API and our API Url that you can find under Settings > Integrations > Zapier in your Ghost dashboard.

After that, we will need to connect Zapier to Mailgun. First, we will select Mailgun - Send Email as the Action. Then Zapier will prompt us to enter the country, domain address, and API key that we noted before when setting up Mailgun.
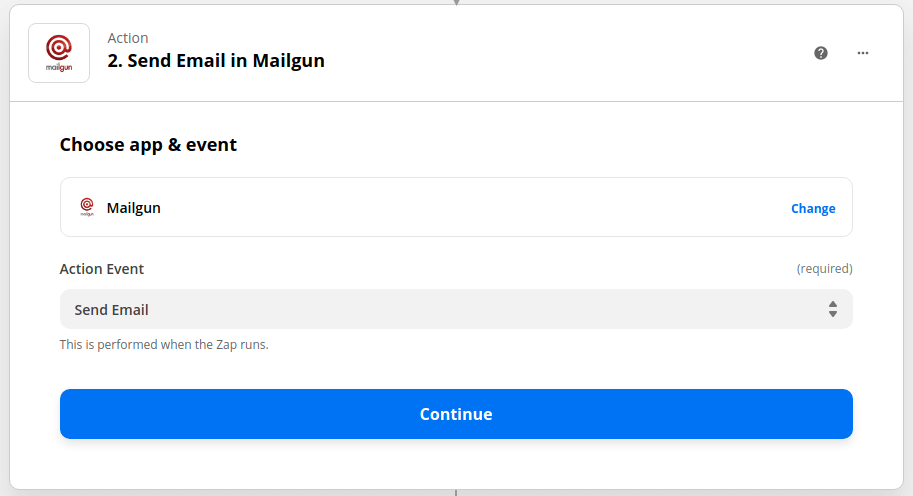
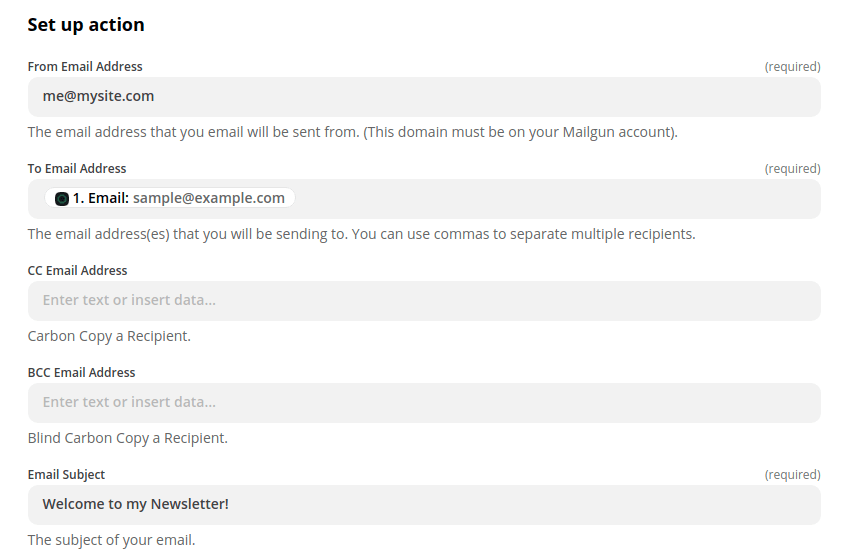
Zapier will then prompt us to configure our Welcome Email in Mailgun:
- From Email Address: Here you will enter whichever email address you want the email to come from
- To Email Address: Click on the field and you will see a dropdown called “Insert Data.” This lets you use data from Ghost - in this case, we want to choose “Email” which is the email address of the new member who we want to send our Welcome Email to.
- Email Subject: Type whatever you would like for the email subject, something along the lines of Welcome to my newsletter!
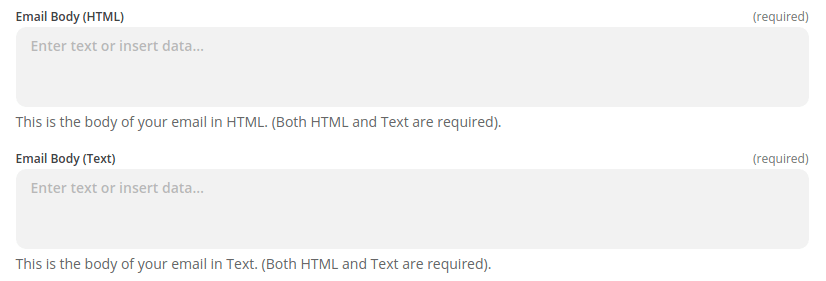
Then we will need to insert the body of our email which we will create in Ghost in our next step.
Composing a Welcome Email in Ghost
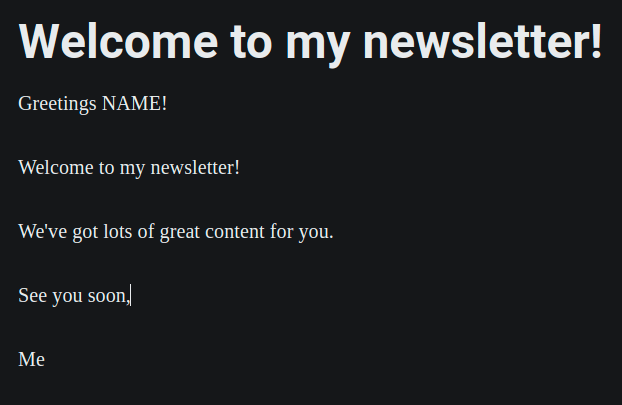
Let’s go into our Ghost dashboard and start writing the content of our Welcome Email. Don’t worry about formatting or how it will appear yet - just write your text as you would any other post.
As you are writing, we want to do two things:
- Wherever you want to refer to someone’s name in your email, put the word NAME
- Take note of the name of the author for the newsletter is displayed in Ghost (we will need to find this phrase in our HTML later)
Extracting the Email Template from Ghost
Now we need to extract the content for our email from Ghost and paste it back into Zapier. To do this, we will first open up a newsletter preview of our post in Ghost by going to Preview and then clicking on the email icon.
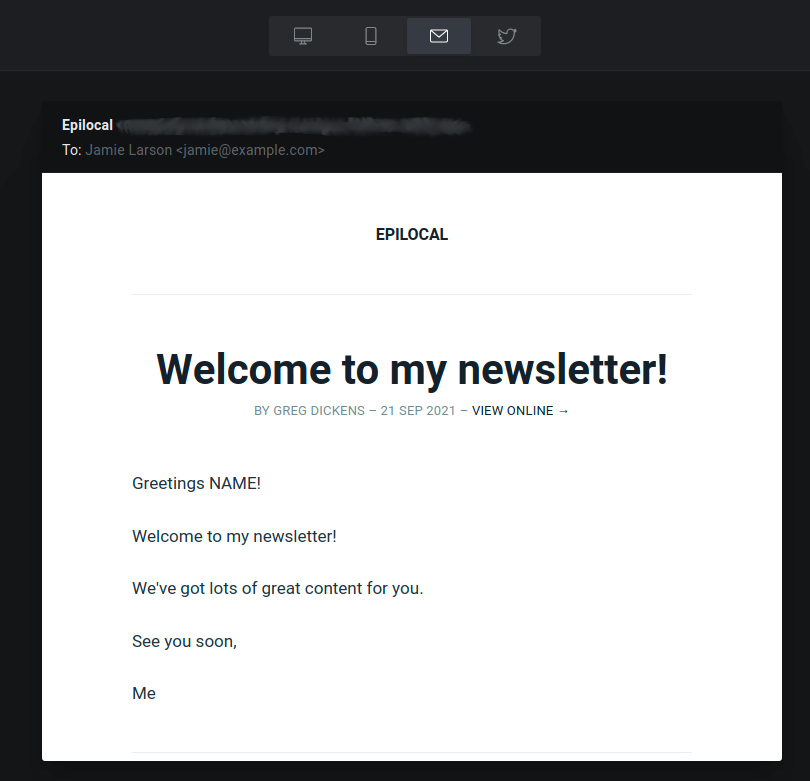
Then we will open up the Developer Tools of our browser and choose the option to “Inspect.” We will then click on the body of the email preview and look in the HTML for where we have an iframe tag followed by #document:
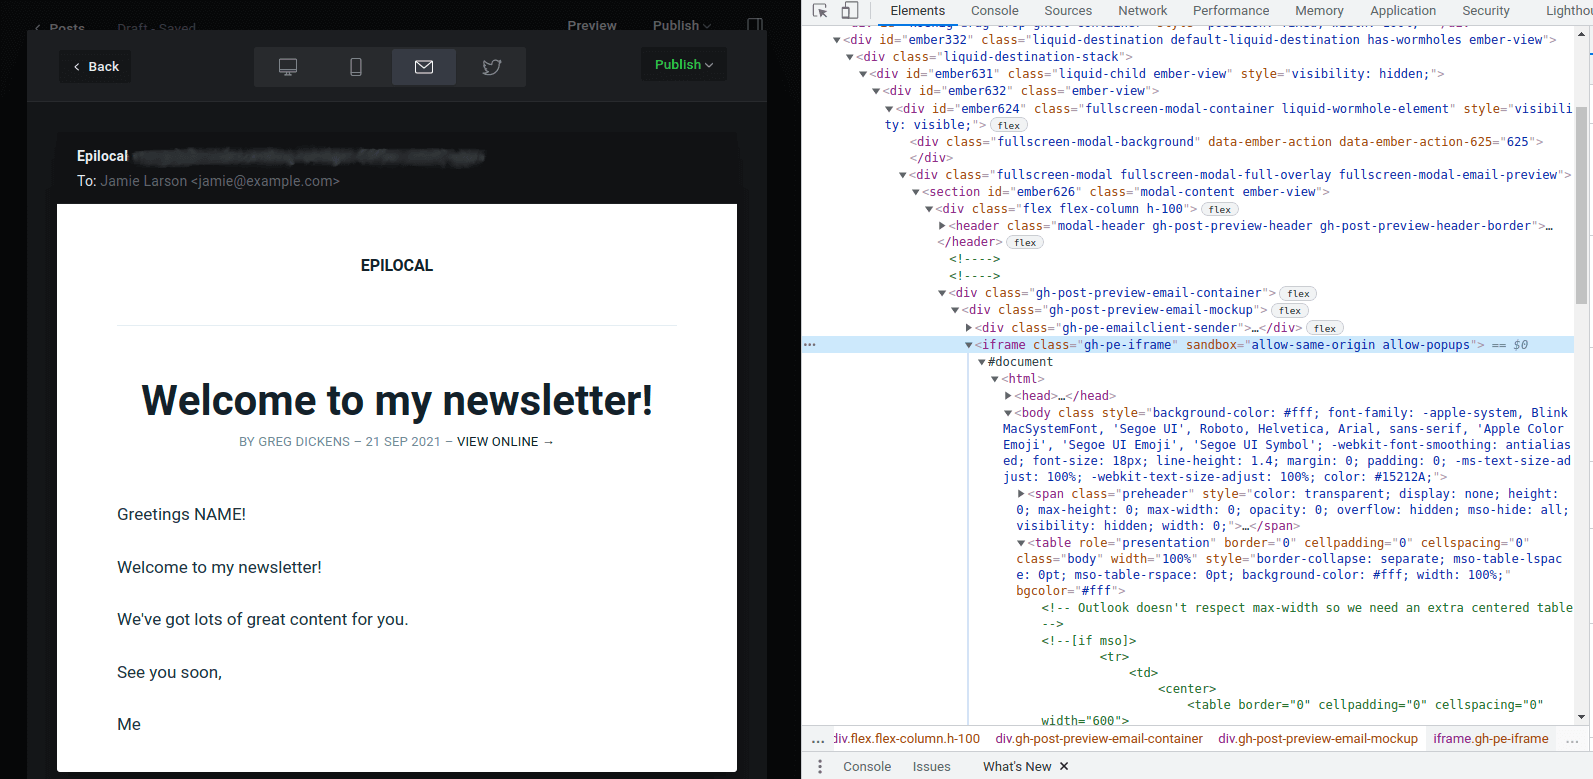
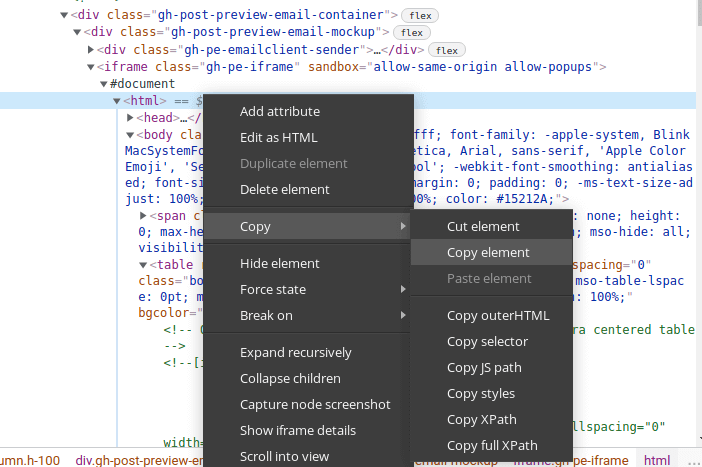
Once we find that, we will go to the html tag that follows, right click, and select “Copy Element.”
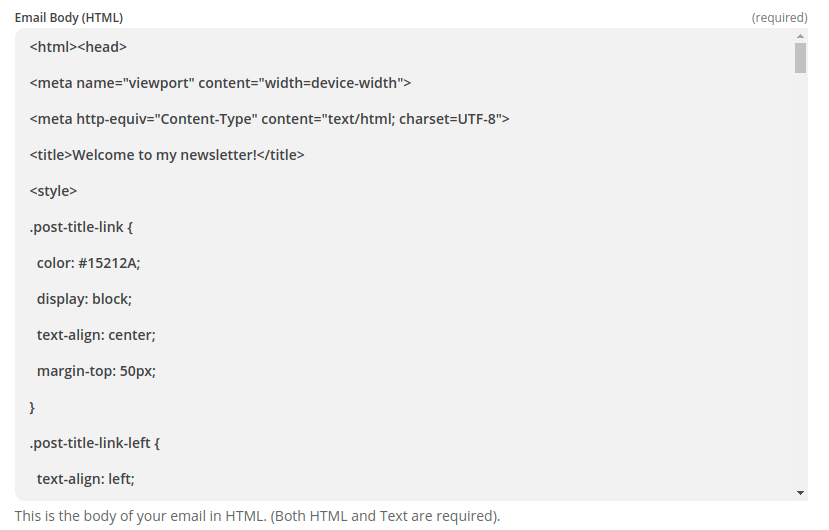
Then we can paste this HTML code directly into the Zapier field that says Email Body (HTML).
Now we need to make three changes to this HTML code.
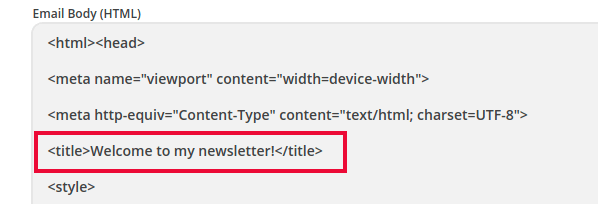
First, search for the HTML <title></title> tags and delete the entire line. We do this because Mailgun will create its own title for the email based on the Subject that we chose.
Then we will search for the name of our author exactly as it is displayed in Ghost. We want to delete everything that surrounds this section that is wrapped in the HTML <tr></tr> tags. (including the tags)
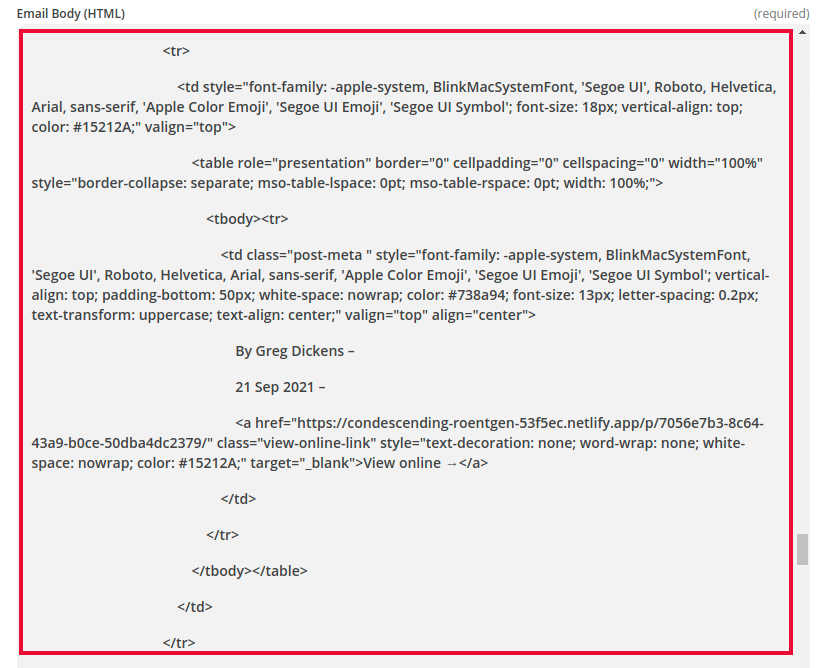
This will remove the Post title and Author byline section that we don’t want for our Welcome Email.
Finally, we need to find our NAME placeholder. We will delete the placeholder and pick from the drop-down of available Ghost fields - with no surprise, “Name” being the choice.

(Note, you may have to do this in two places if you want to use NAME in the preheader of your email)
And with that, we have our HTML all ready to go.
Mailgun also wants us to provide a plaintext version of the email. This is much easier and you can just copy and paste your content from the body of your post. Then replace the NAME placeholder in the same way we just did for the HTML, selecting the Ghost field “Name.”

Then you can save and test it - and as you can see, our Welcome email is successfully sent using our Ghost email template.
Going Further
This approach works perfectly fine and keeps you within the confines of Zapier’s free plan. However, you will notice something a bit annoying about the name that comes from Ghost: it is a full name.
So you will be saying "Hello John Smith" instead of just "Hello John", which sounds a lot more natural. We have two solutions here:
- If you want to keep things simple and stay on the free Zapier plan, you can just remove the personalization from your welcome emails altogether. In that case, simply remove the part that uses the Ghost “Name” field from the above steps.
- However, if you are already on the premium Zapier plan or are ok with upgrading, there is a way that you can reformat the full name from Ghost into a first name only.
To do this, we will open our Zap back up in Zapier and between the Ghost and Mailgun steps, we will press the “+” button to add an intermediate step. Here we will select the “Format Option.” Then we will select Text > Split Text.
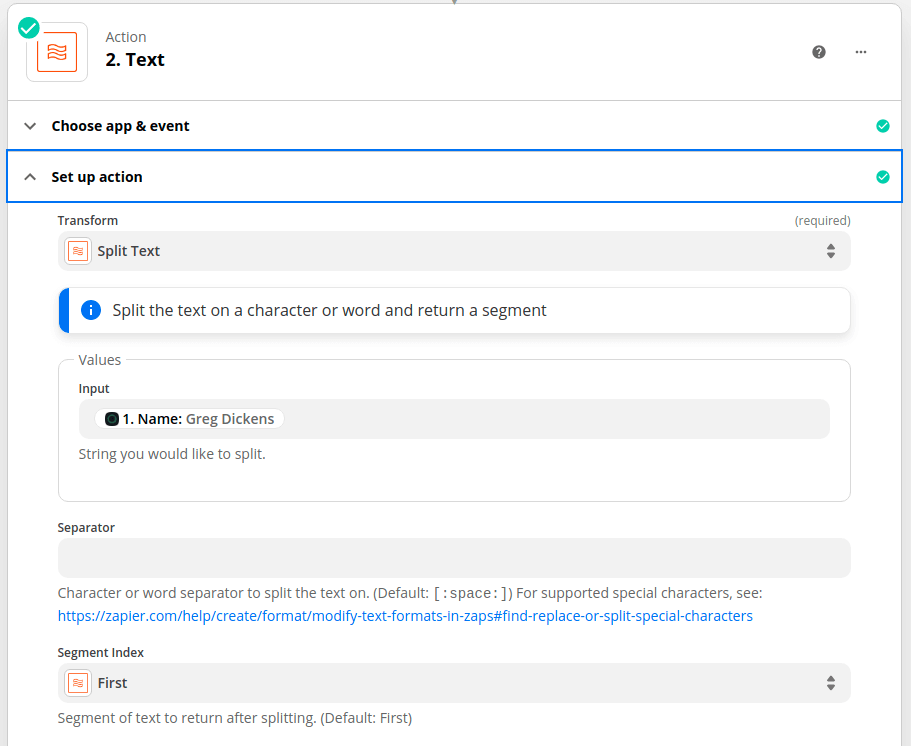
As our Input, we will select our Ghost “Name” field. As our separator we will type one space, so like this “ ”. This let’s Zapier know that we want to split the field based on where the space is. Finally, we will select “First” from Segment Index, which will tell Zapier to take the first name rather than the last name.
Now we just need to replace our field in our HTML and Text body, so instead of using the “Name” field directly from Ghost, we will use our Text field from the Zapier formatter.

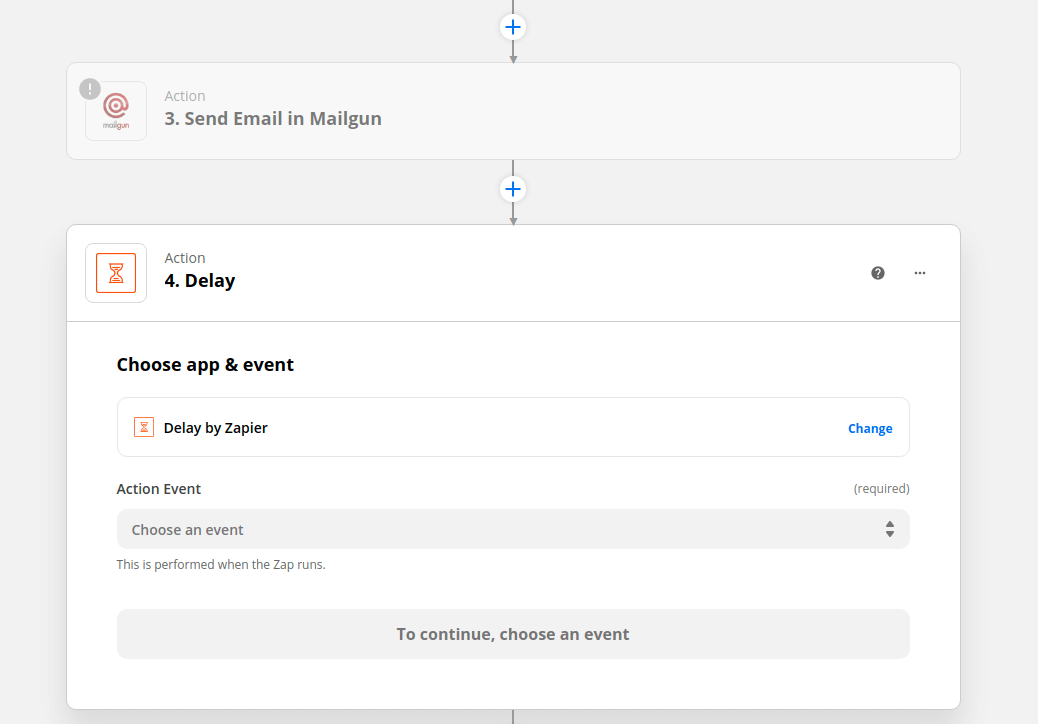
With Zapier’s premium functionality you could also create a drip sequence, where you send multiple messages with a time delay in between. You can see this by pressing the “+” after you send the initial Mailgun email. To create a Welcome Email sequence, you could add a delay using Zapier and then send another Mailgun email after that.
Wrapping Up
In this article we’ve seen how you can send a Welcome Email with Ghost using Zapier and Mailgun. We’ve also seen how you can take it even further using Zapier’s premium functionality to personalize your Welcome Email and to send a full Welcome sequence of multiple emails.

